
I also brought in the Ornate Frames Dies as they coordinate really well with the dies from this bundle!
This card goes together really quick! I wanted to use sentiments that you could add, a happy birthday, congratulations, Thanks etc to and make it into a card for any occasion so I brought in the Special Moments stamp set (Sale A Bration set).
For those of you who don't know what Sale A Bration is, it's a special sales program by Stampin Up® where you can qualify for free product with minimum purchases during a specific time frame. Right now Sale A Bration is going on from Jan-Feb of 2022.
* Using Real Red ink stamp several hearts as shown making sure to 2nd generation stamp some of them so that they are lighter in color.
* Using Black Memento ink stamp the large dotted image stamping off to lighten up the color over a couple of the hearts as shown.
*Then run through the Gingham Embossing Folder
*Adhere to the Basic Black matte, then add them both to the card front.
2. Next using the Sweet Heart Dies:
* Cut out the label from the Basic Black piece. Set aside
*With the 1 1/4 x 2 Real Red piece cut out a small and tiny heart. Set Aside.
3. Using the Ornate Frames Dies:
* Using the larger of the straight edged labels, Cut out a label from the 2 x 2 basic white piece.
* Using Black Memento ink stamp the sentiment onto label.
* Then adhere to the center of the Basic Black Label.
* Run linen thread through the hole in the top and tie a bow.
4. Adhere these to the card front using stampin dimensionals.
5. Add die cut read hearts to the label as shown. The larger one will need a dimensional on the part that is off the label.
6. Using the Dark Real Red stampin blend color in the Rhinestones then add to the card front as desired.
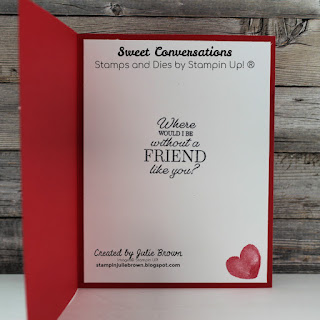
7. For the inside of the card:
* Using the Special Moments Stamp set and Black Memento ink,stamp the sentiment onto the 4 x 5 1/4 Basic White piece centering.
* Using Real Red ink stamp one heart in the bottom right hand corner.
* Adhere to the inside of the card.
Supply list: (If you'd like to order just click on any of the pictures below)
Product List")
")


No comments:
Post a Comment