Tuesday, February 9, 2021

Flowering Cactus "Google Eyes"

Glad you popped in today!  When I saw this Flowering Cactus Product Medley by Stampin UP® I just had to make a fun card with Google Eyes!  I kept seeing the face in each of the Cactus!

For this card I used the Flowering Cactus Product Medley.  Then I added in Google Eyes!

I hope you like this card!  Please leave me a comment below and let me know what you think!

Cuts and Card Base - DSP=Designer Series Paper

Card Base - Crumb Cake - 5 1/2 x 8 1/2 scored at 4 1/4

Layer 1 - Flowering Cactus DSP - 3 1/2 x 5 3/8

Layer 2 - Flowering Cactus DSP - 6 x 6

Layer 3 - Basic White - 4 x 5 1/4

Instructions:

  1. Layer 1 - Using the Stitched Shapes Dies cut out a circle on the left side and an Oval on the right side.  (Note: It will not put the stitching on it but it was the right size for each shape).  Adhere to the card front towards top edge leaving just a bit around all edges.
  2. Layer 2 - Using the Flowering Cactus dies and the DSP that has all the cactus and flowers on it, cut out several of the Cactus and flowers.  Then adhere them to the card front as shown. 
  3. Using Black Memento ink stamp the sentiment onto the card front just below Layer 1 as shown.
  4. Adhere a felt flower on each end of the sentiment as shown.
  5. Apply Google Eyes as shown and draw in the mouths. 
  6. Layer 3 - Using Black Memento ink stamp the sentiment onto center of sheet.  Stamp the large cactus using Mossy Meadow Ink in the lower right hand corner. 
  7. Adhere to the inside of the card. 

Shop Supplies:  If you'd like to get any products just click on any picture below! (Note: I purchased the Google Eyes at Hobby Lobby)
Product List


Monday, February 8, 2021

Demonstrator Training Blog Hop Feburary 2021 Art Gallery "Quick and Simple"

Thanks for stopping by today and Welcome to the Demonstrator Training Blog Hop!  You are going to get to see so many beautiful cards designed by Stampin Up® demonstrators all over the world!  Tons of creations to choose from.  Pick one and recreate it! 

If you are new to Blog Hopping once you read through this Blog then you will see a list at the bottom with names on it.  Just click on the one right after my name and you will be taken to the next Blog!  Keep going until you get back to the first Blog you started with and you will get to see all the wonderful designs.  It's like traveling all over the world from the comfort of your home!

Want a super quick and easy card? This is the one.  This card goes together so quick.  Would be easy to make several of these in no time at all!

For this card I used the Art Gallery Bundle by Stampin UP®.  I added in the Fine Art Floral Designer Series Paper, Golden Garden Acetate Paper, Fine Art Ribbon and some card stock!

One of the Golden Garden Acetate pieces overlays one of the Designer Series Papers exactly and that is what I used for this card!  I love the way it puts that Gold glimmer onto the Designer Series Paper it makes it look so elegant. 

If you'd like to be notified each time I add a new card just add your email to the right under the "Follow Me" section!  You can also sign up for my newsletter which will be full of tips, tricks, specials, schedule of classes both in person and online!  

Cuts and Card Base - DSP = Designer Series Paper. 

Card Base - Pool Party - 5 1/2 x 8 1/2 scored at 4 1/4

Layer 1 - Fine Art Floral DSP - 4 x 5 1/4 (Before you cut match up to Layer 2)

Layer 2 - Golden Garden Designer Acetate - 4 x 5 1/4 (make sure to pick the one that matches the DSP)

Layer 3 - Pool Party - 3 x 4

Layer 4 - Basic White - 4 x 5 1/4

Step by Step Instructions:

  1. Layer 1 - Set aside until you finish Layers 2 & 3. 
  2. Layer 2 - You will cut out words from Layer 3 before adhering this piece to Layer 1. 
  3. Layer 3 - Apply Adhesive sheets to back side then using the Floral Gallery Dies and the Word die cut out the words.  
  4. Now lay Layer 2 onto Layer 1 lining Up (DO NOT AHDERE YET).  Apply the words as shown.
  5. Now turn to back side of Layer 2 and apply Liquid glue behind the words to help hide the adhesive.  I also place Mini glue dots behind where the ribbon will lay.
  6. Adhere Layer 2 to Layer 1.
  7. Wrap ribbon around bottom about 3/8" from bottom edge. 
  8. Adhere both layers to card front as shown. 
  9. Tie a bow and using Mini glue dots adhere to the middle of the ribbon. 
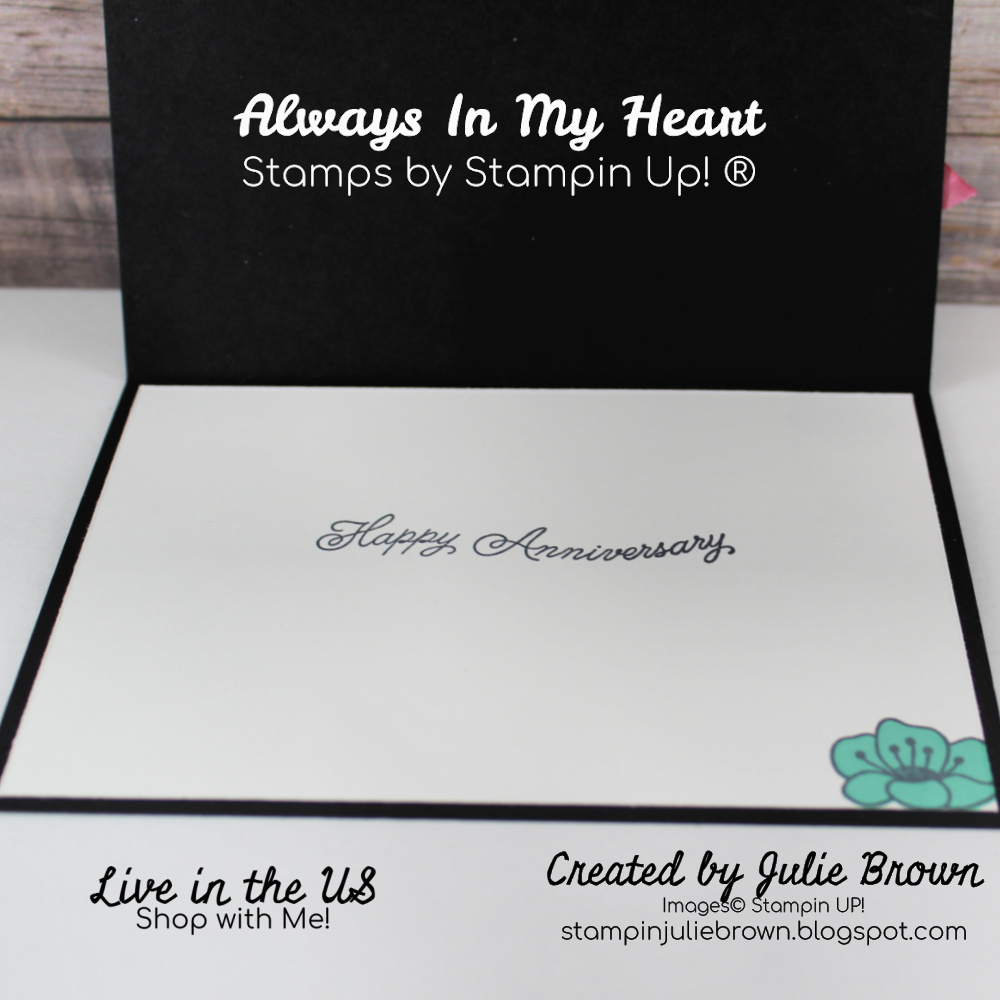
  10. Layer 4 - Stamp flower image in lower right hand corner using Flirty Flamingo Ink. 
  11. Then using Black Memento ink stamp the sentiment.
  12. Adhere to the inside of the card!


Talk about easy and quick.  The best part is the Acetate paper really gives this card an amazing finish!  Looks so professional!  Hope you like the card!  Don't forget to leave me a comment below!  Remember just click on the name under mine on the list to move along the Blog Hop!


Product List


Sunday, February 7, 2021

Hydrangea Haven "Uplifting card"

Thanks for stopping by my blog!  Have you every had those moments in your life where your feeling overwhelmed or uncertain?  Maybe it's because your a new mother, just started a new job or moved to a new town and haven't found any friends yet!  I wanted to come up with a card that would be great to send to our family and friends that are in this situation.  The difference receiving an assuring card can make in someone's live is monumental. 

I have a brother who is fighting cancer at this time.  He lives in Australia which is so far away.  Anytime he gets mail it brightens his day!  Now this card would need to be a little more masculine for him but the point is, we need to send more cards that can uplift people and brighten their days!

For this card I used the Hydrangea Haven Bundle by Stampin UP!®  The great thing is that Stampin Up® designed an entire suite of products that coordinate with this bundle!  So lets look at how I put it all together!

If you'd like to get notified when I add a new card just add your email to the right under the "Follow Me" section.

Cuts and Card Base - DSP = Designer Series Paper

Card Base - Rococo Rose 5 1/2 x 8 1/2 scored at 4 1/4

Layer 1 - Hydrangea Hill DSP - 4 x 5 1/4

Layer 2 - Rococo Rose - 2 1/4 x 5

Layer 3 - Basic White - (1) 2 x 2, (2) 1 1/4 x 2

Layer 4 - Blushing Bride - 2 1/4 x 2 1/4

Layer 5 - Blushing Bride - 1 x 2 1/2

Layer 6 - Basic White - 4 x 5 1/4

Instructions:

  1. Layer 1 - Adhere to the card front.
  2. Layer 2 - Adhere to Layer 1 centering left to right and about 1/16" from top and bottom edges.
  3. Layer 3 - On the 2 x 2 piece stamp the top of the Hydrangea Flower image in Black Memento ink.  Then using the solid watercolor image stamp in Rococo Rose ink over the last image.  Set Aside.
  4. On one of the 1 x 2 pieces, stamp several small flowers in Black Memento ink, then using the solid watercolor images stamp over the first image in Rococo Ink. Set aside.
  5. Lay the previous stamped pieces plus the empty 1 x 2 piece onto Layer 2 as shown.  When you have the layout how you like it adhere them into place as shown. 
  6. Layer 4 - Using the Hydrangea Dies cut out detailed Hydrangea.  (Note: it will not cut out the flowers they are suppose to stay in) Then fold up a few of the edges of the flowers.  Adhere over the 2 x 2 Layer 3 piece covering the stamped Hydrangea image. 
  7. Apply Pearl Basic Jewels as shown. 
  8. Layer 5 - Using Black Memento ink stamp the sentiment then using the stitched label die in the Hydrangea Die set cut out the label.  Adhere to the 1 x 2 Layer 3 piece that is empty using stampin dimensionals. 
  9. Layer 6 - Using Rococo Rose ink and the Watercolor strip image stamp onto center of sheet.  Then using Black Memento ink stamp the sentiment into center of the image you just stamped. 
  10. Adhere to the inside of the card. 

Supply List: (To order just click on any of the pictures below)
Product List


Saturday, February 6, 2021

Always in My Heart "Anniversary"

Welcome to my blog!  I hope this card will give you some inspiration for Anniversary cards!  

For this card I used the Always in My Heart Bundle by Stampin UP!® I added in products from the Love you Always Suite also by Stampin UP®.  Then added in Stampin Blends, ribbon, ink.  

This card has a funny story!  When I started with this design I intended to use the other side of the Designer Series Paper.  It has black and white strips and I wanted to color in the white strips which I did and it looked great!  Then I turned it over to adhere it to the card front and saw this side and fell in love with it.  It's such a unique look for this side of the Designer Series Paper! So this is the side I decided on!  

I think this would look great using any of the purple or pink combo's of the Stampin Blends.  If you do one in a different color send me a picture.  I'd love to see it!

Don't forget if you haven't already added your email to the right to follow me add it now so you will get updates when I add new cards!

Cuts and Card Base:  DSP = Designer Series Paper

Card Base - Basic Black

Layer 1 - True Love DSP - 4 1/8 x 5 3/8

Layer 2 - Basic Black - 2 3/4 x 4 1/4

Layer 3 - Love You Always Foil - 2 1/2 x 2 1/2

Layer 4 - Coastal Cabana - 4 1/4 x 4 1/2

Layer 5 - Basic White - 4 x 5 1/4

Instructions:

  1. Layer 2 - Using the Rectangle Stitched Dies run through Die cut machine.  Then adhere to the Layer 1 about 3/4" from top edge flush to the left side. 
  2. Layer 3 - Using the Layering Squares and one of the scalloped squared run through the die cut machine.  Then adhere to Layer 2 centering. 
  3. Layer 1 - Wrap ribbon (Playing with Patterns) around Layers 1,2 and 3 then tie a knot. 
  4. Adhere all these Layers to the card front.
  5. Using the Rococo Rose dark stampin blend color in the Crinkled Seam Binding.  Then tie around the Playing with Patterns ribbon right next to the knot.  One on each side. (Note: on the one on the right side tie in one of the heart charms)
  6. Layer 4 - Using the Floral Heart Dies and the Large detailed floral heart die cut out just a heart.  (If you've already used Coastal Cabana for this die you may have a heart already cut) 
  7. Using Black Memento ink stamp the sentiment into the center of the heart.  Then stamp some of the leaves as shown. (Stamping off the heart)
  8. Adhere to the card front centering onto Layer 3.  Add the Basic Pearls as shown. 
  9. Layer 5 - Using Black Memento ink stamp onto center of sheet. Then stamp a small flower in the lower right hand corner.  Color in with Bermuda Bay Stampin Blends. 
  10. Adhere to the inside of the card. 


Supply List:  (If you need any of the products listed below just click on any of the pictures to be taken to my online store)
Product List