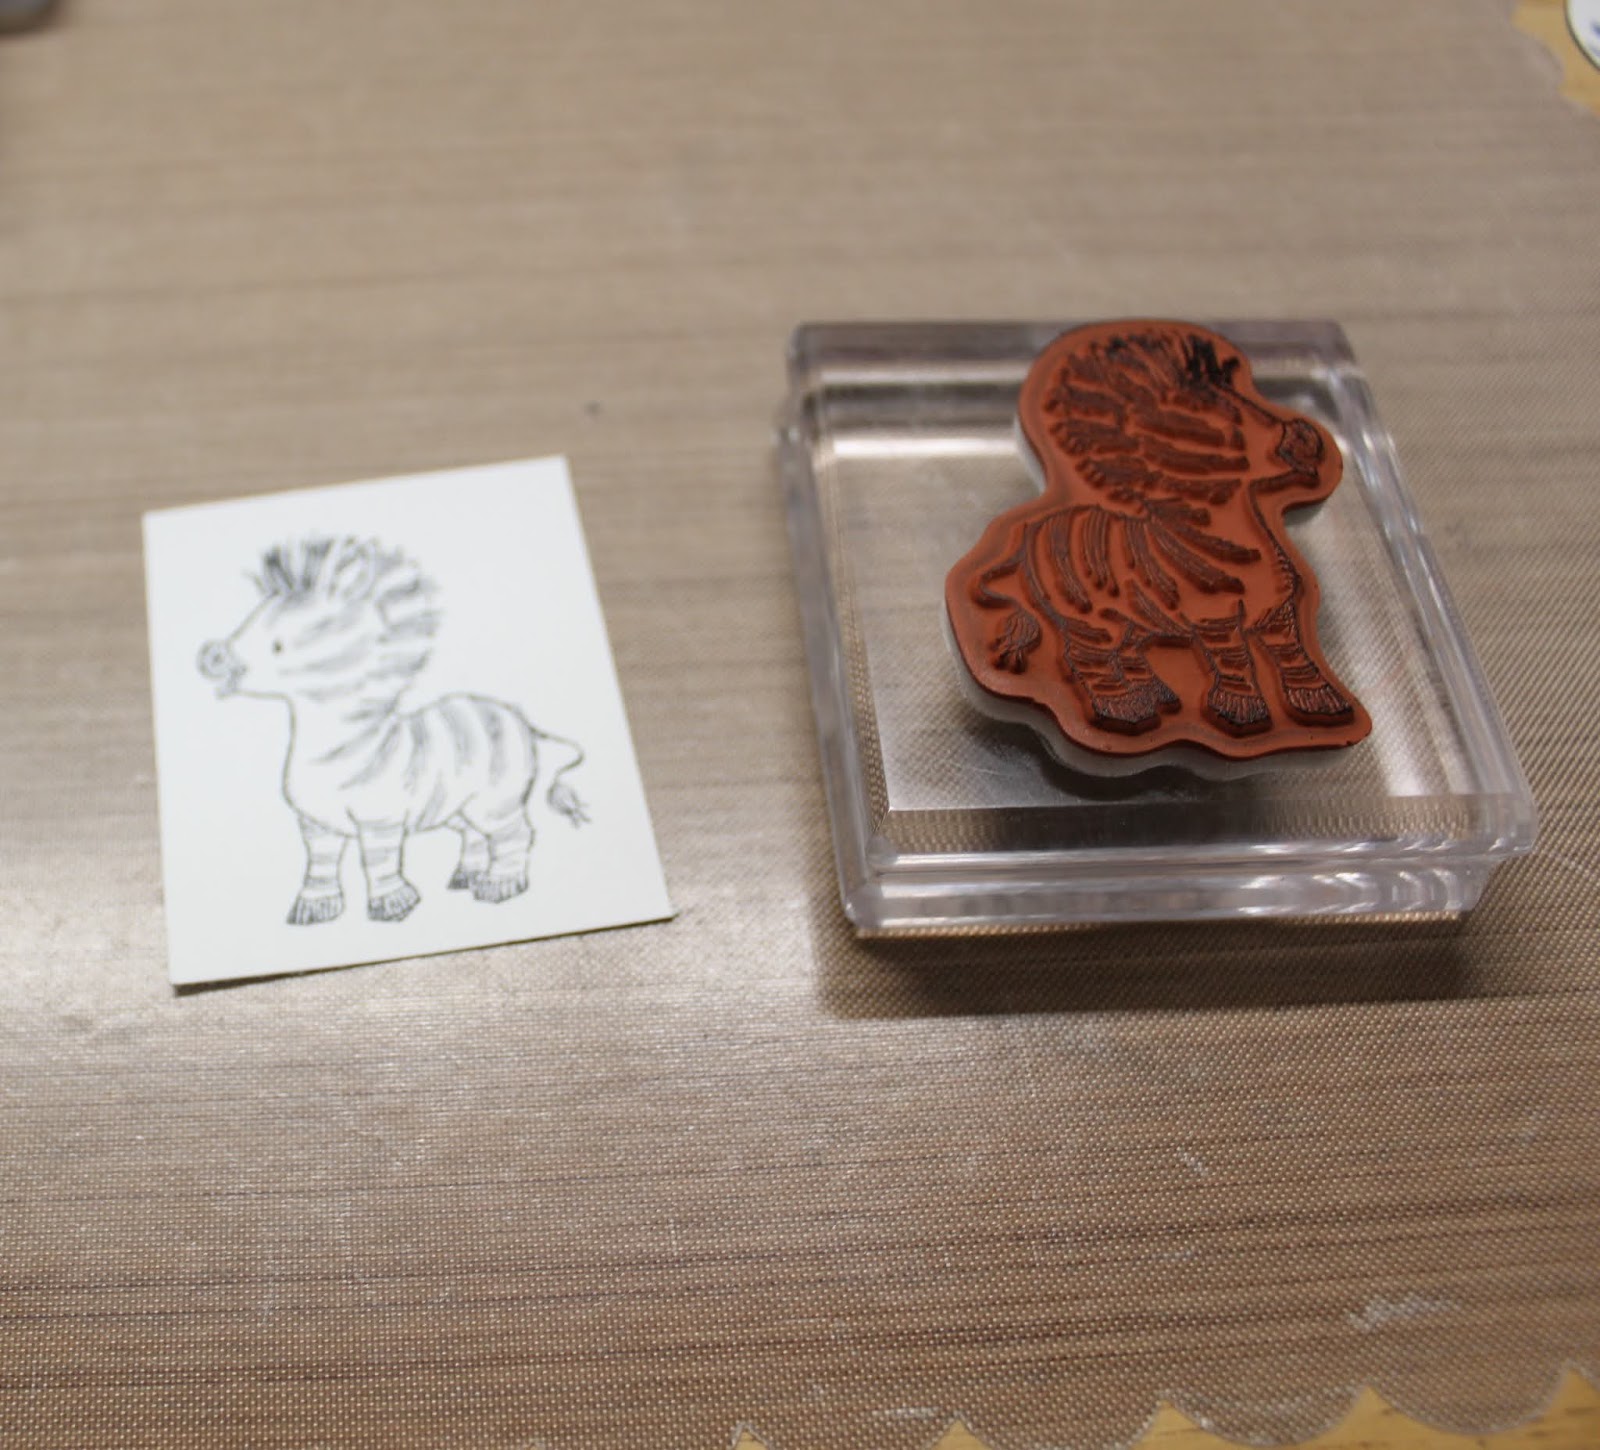
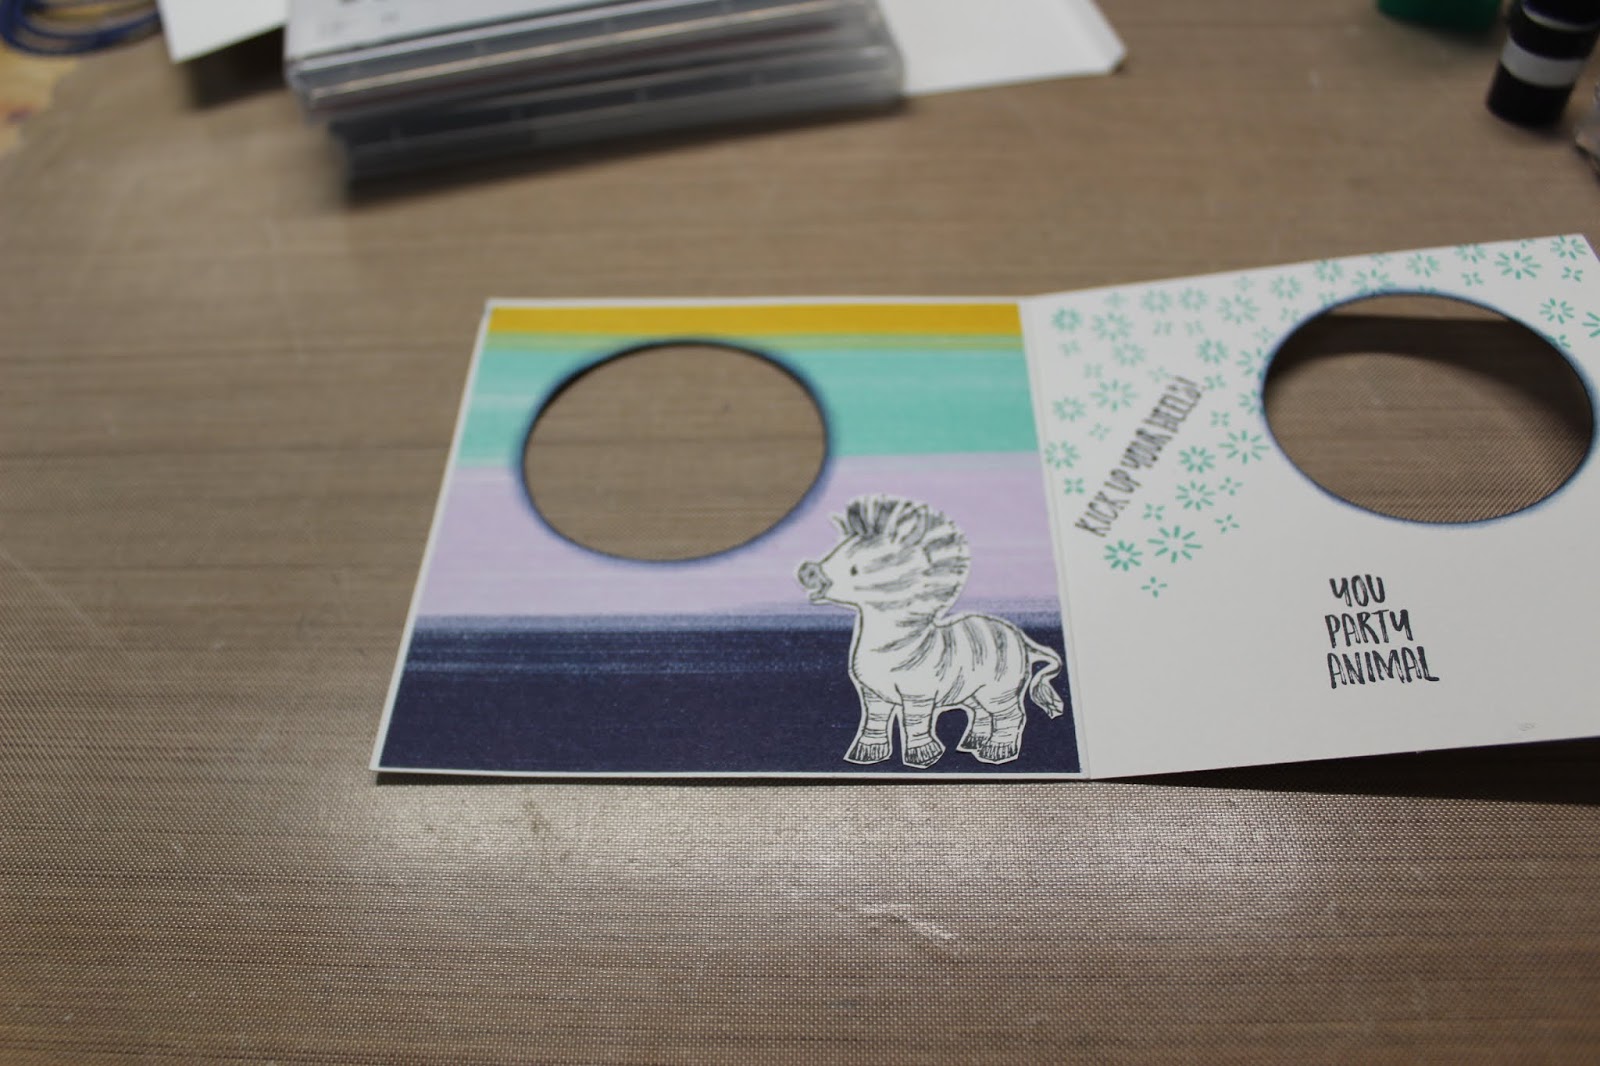
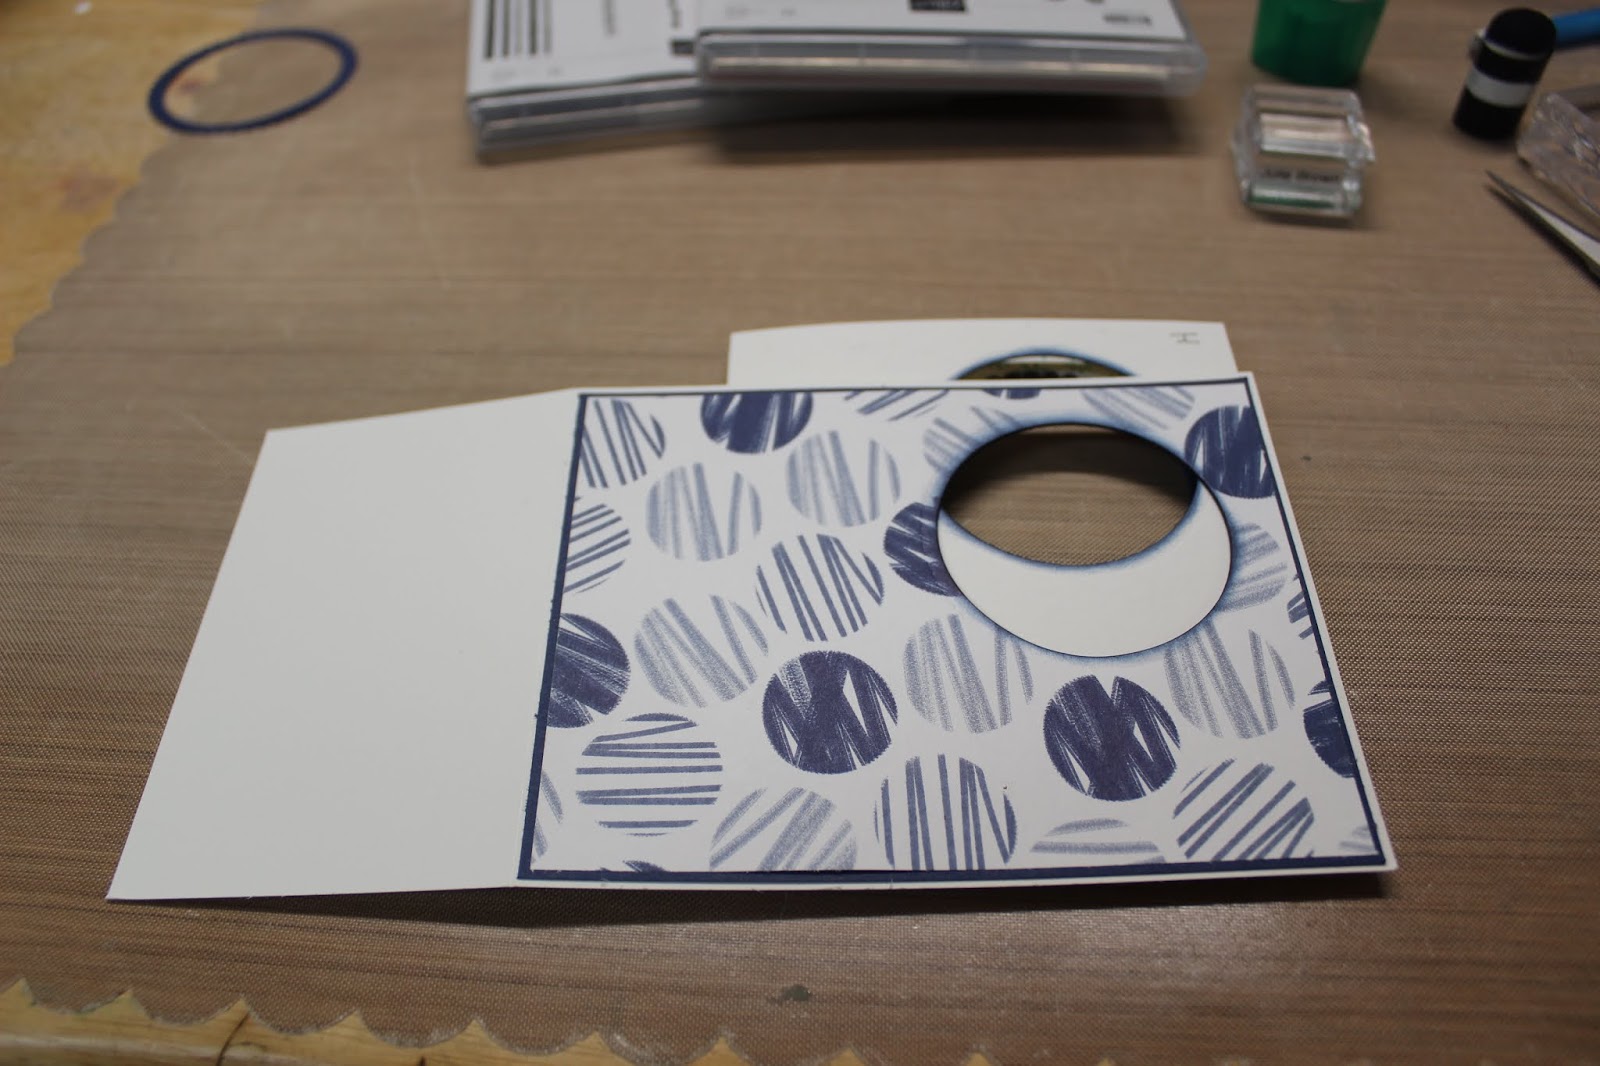
This is one of my grandchildren's favorite cards. They get a kick out of the Peek A Boo Zebra. When you open and close the card the Zebra changes! It's always exciting for me when I create a card that becomes one of their favorites. I hope you enjoy it and have someone special to send it to! I used the Pattern Play stamp set and Zany Zebra's stamp set by Stampin UP! Just below the first two pictures I have listed the supplies needed to make this card. Next I have step by step instructions with pictures. I will also add a link to a video I did on how to make this card! Enjoy!
Supplies:
Product List
Project Recipe:
Card Base and Cut Instructions:
DSP = Designer Series Paper
Card Base (3 pieces)
Front - 4 1/4 x 8 1/4 scored at 2 3/4
Inside- 4 1/4 x 8 1/2 scored at 4 1/4
Back - 4 1/4 x 5 3/4 scored at 5 1/2
Front Piece:
Layer 1 - Night of Navy - 4 1/8 x 5 3/8
Layer 2 - Playing w/Patterns DSP - 4 x 5 1/4
Layer 3 - (3) Night of Navy - 3 x 3
Layer 4 - Whisper White - 4 x 5 /14
Layer 7 - Purple Posey - 1 x 3, Crushed Curry - 1 x 3, Night of Navy - 1 x 3, Coastal Cabana - 1 x 3
Inside Piece:
Layer 5 - Playing w/Patterns DSP - 4 1/8 x 4
1/8
Layer 3 - Night of Navy - 3 x 3
Layer 6 - Whisper White- 2 x 2 1/2
Back Piece
Layer 4 - Whisper White- 4 x 5 1/4
Using a pencil label each of the card bases on the front and back as shown.
2. Front piece: Adhere Layer 2 to Layer 1.
3. Using the Layering Circle dies (the fifth up from the smallest circle).
4. Cut out a hole through both sheets placing die about 1/4" from right edge of DSP and 1/4" from top edge.
5. Lay the front card base down with the scored edge to the left.
6. Place Layer 1 & 2 onto card base lining up edges on right, top and bottom.
7. Using a pencil trace circle onto card front.

8. Remove Layer 1 & 2 from front card base and using the same circle die cut out another circle.
9. Layer 3 - You will be cutting 3 of these to be used on the Front, Inside and Back card bases.
10. Using the same circle die, nestle inside the 3rd from the largest Scalloped circle and cut out to form a frame.
11. You should end up with three frames.
12. Inner card base piece. Fold in half, place behind front card base with opening on right side.
13. Line up with top, bottom and right side edges flush.
14. Trace circle onto the inner card base.
15. Remove from back of front card base.
16. Open and Adhere Layer 5 to the left side of the inner card base.
17. Open inner card base and place face down onto die cutting plate.
18. Place circle die over traced circle and cut through this layer and the DSP on the inside.
19. Remove from die cutting machine. Fold in half and again trace the circle you just cut onto the back piece.
20. Now open inner card base and lay back onto the die cutting plate.
21. Cut out circle on the right side of the inner card base. (the one you just traced)
22. When your done you should have a circle on the left side and right of inner card base when opened.
23. Using a sponge dauber and Night of Navy Ink chalk the inside of all the circles on both sides of the Front and inner card bases.
24. Open the inner card base and stamp sentiments from the Zany Zebra stamp set.
25. "Kick up your heels" at an angle as shown in Black Memento ink.
26. "You party Animal" as shown in Black Memento ink.
27. Using the small star stamp from the Pattern play stamp set.
28. Stamp image several times on the top and left side of the circle in Coastal Cabana ink. Going around top sentiment.
29. Layer 6 - Stamp Zebra with all four hoofs on the ground in Black Memento ink.
30. Fussy cut out.
31. Adhere to the lower right hand corner of the inner card base onto the DSP on the left side.
32. Stamp the party hat several times placing one on the top of the Zebra's head.
33. Adhere the Night of Navy Scalloped circle frames onto the left and right circles of the inner card base.
34. Close inner card base and apply a lot of adhesive onto the front.
35. Open Front card base then Line up the inner card base to the back of the front card base making sure the right edges, top and bottom edges are flush.
36. The circles should be flush with each other.
37. This is how it should look once it is adhered together.
38. Back card base - Burnish scored edge really good.
39. Apply tear and tape to the scored edge.
40. The Tear and Tape will lay off the edge. Just fold it towards the inside.
41. Turn card over so that the Inner section is to the left and the scored edge of the Front card base is on your right.
42. Attach the Back card base to the left edge of the Inner card base.
43. Fold Front card base scored edge closed then close the back card base.
44. On Layer 4 using the 3rd from the largest die trace a circle in the bottom right corner and the upper left corner.
45. Stamp each of the Zebra's that you have not used yet in the middle of each circle in Black Memento ink.
46. Also stamp each one onto a post it note.
47. Cut out the images on the post it notes cutting right on the lines.
48. Apply over the stamped images then sponge around them with Night of Navy Ink.
49. Remove Post it notes then cut out with circle die that you used to trace circle with.
50. Open card and using a pencil trace the circle on the right side.
51. Open back of card and adhere the Zebra kicking up it's heals over the traced circle.
52. Close card and using a pencil trace another circle.
53. Open back of card and where adhere the other zebra circle over the traced circle.
54. Close card and adhere the last scalloped circle frame to front of card base.
55. Layer 7 - Adhere the Adhesive sheets to the back of the strips.
56. Cut out the letters for the card front. See picture (note: the night of navy strip will have an H and another Y)
57. Using a black zig marker outline letters.
58. Adhere letters to card front.
Now your ready for the magic open and close your card and watch the Zebra's change. If it catches a bit you can add some scotch tape to the left edge of the Zebra Circle on the back card.
Here's a video on how I made this there are a few steps added here that I did not do in the video!
Don't forget to leave a comment below and let me know what you think of this card!